“The whips consecrated. For fighting vampires and demons.”


Construction Notes:
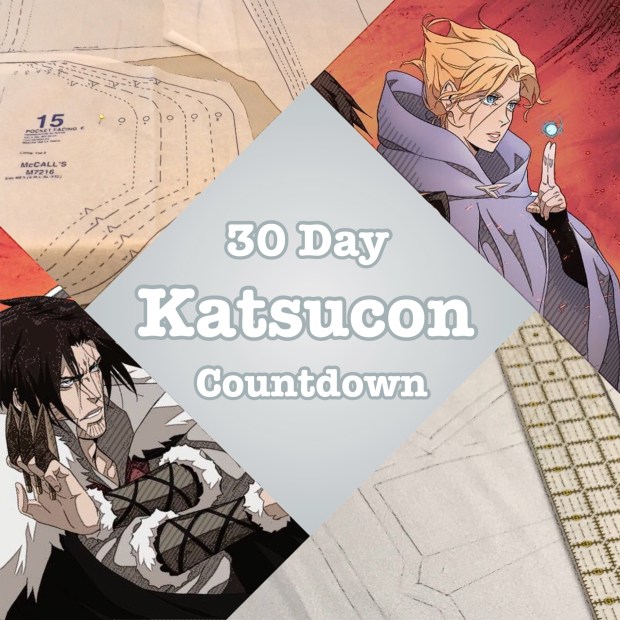
Castlevania took us completely by storm. I had never played, nor had any interest in, the Castlevania series before we stumbled upon it on Netflix summer of 2017. 4 episodes later and Toggle Photography and I were completely hooked! The beautiful animation, fun wit, and crazy tight story line made us watch it again and again. It only made sense for us to want to cosplay for it at Katsucon, and pray for a chance of getting canon shots in the snow.
I built both Sypha Belnades and Trevor Belmont costumes as part of my yearly 30 day Katsucon Countdown, and paid extra attention to Trevor as his costume had the most details. Later in 2019 I built Alucard to complete the trio!
Quick Jumps:
•Wig
•Top
•Belt + Skirt
•Pants
•Boots
•Bracers
•Daggers
•Sword
•Whip
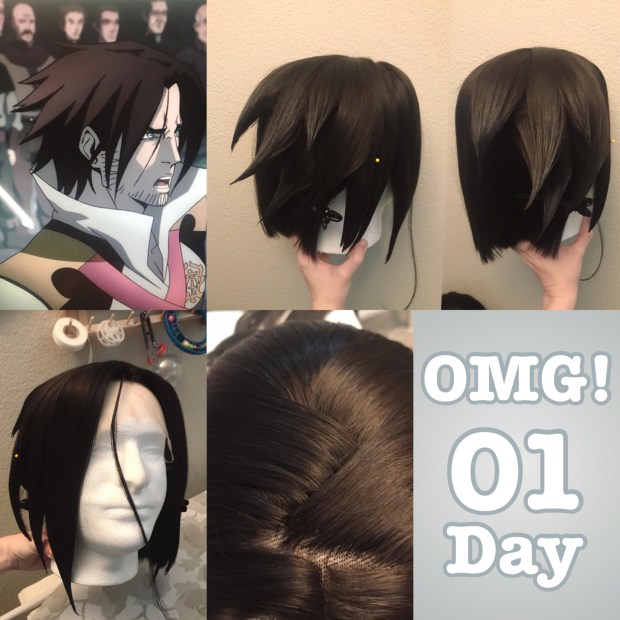 The wig is lace front LF013 from Wig is Fashion. I had to chop off so much of this wig which was sad, but it had the perfect square hairline and color. I heat trained the top into a zig zag part, careful not to show the wefting below, as this is not a skin top wig. I tried a new method (to me, it’s been around in the community for a while now) where you cut the spike, tip in in Got2B Glued then immediately hit the spike with some heat from a blow dryer to set it. This resulted in much more natural spikes than my Tub ‘n Tile route I go. His contacts are Real Crystal from TTDYE.*
*Since the purchase of these contacts, TTDYE has made some unsightly comments and I no longer buy from them.


The top was loosely drafted from McCall’s M7216’s jacket pattern. I adjusted the neckline, gave it a standing collar, added front flaps, and placed an invisible zipper down the underarm seam. The Belmont crest was vectored by me and cut via a cricut machine (Thanks Indiglue!) on Cricut Iron On Lite in Gold. This was my first time using an iron on vinyl and I’m in love! It came out soooo clean. What is really important is the understructure I built to go under the shirt to give Toggle a more cartoony inverted triangle shape. This was also loosely based on M7216. It’s a base of cotton with quilted batting on top. The pecs are made of sheets of batting layered and topped in cotton. Everything is zigzag stitched down to the base of cotton, and there is a zipper running up the back. The vest is pleather backed in broadcloth with red sateen straps which were top stitched. The gold parts are also pleather and applied with E6000. Again, the crest was cut via a Cricut machine. The vest has a series of snaps (2 in the front; 2 under each arm; 3 along the bottom edge of the brown in the back; and 2 to connect the red straps to the back of the brown) to keep everything in place.


Much like the vest, the belt is pleather backed in broadcloth. We purchased premade belts and cut them to our needs, and sewed them straight to the bigger belt. I sewed a cylinder to slip the sword sheath through that has snaps to connect it to the lower belt. A pleather strip was also sewn to the big belt with a snap to hold the whip. Due to time constraints, we also purchased the back pouches off of Amazon. The skirt was made of a gorgeous red velvet which was draped on Toggle to get an accurate shape. It’s actually 2 pieces, so the right side faces the correct way on top and bottom, the seam is hidden by the belt. It’s finished by a serger, rolled over once and top stitched.


The pants are exactly McCall’s M7216, not changes were needed. The pants include a fly front zipper, 2 front pockets, darts in the back, blind stitch hemmed and a low profile hook and eye in the front for closure.


The boots are made from the same material as the shirt and belt. I wrapped Toggle’s leg while he was wearing the base shoes in plastic wrap then masking tape and marked out my seams. I tweaked the tape pattern a bit to give the middle section more poof. There is an invisible zipper up each boot cover and it’s topped in custom dyed fur. The boot cover is attached to the shoe with E6000.


The bracers are made of the same material as the pants and are accented in the same pleather trim and custom dyed fur as the boots. They have a regular separating zipper up the back to get in and out of. They are lined in the same cotton as the shapewear under the shirt.


Trevor’s weapons were modeled by Toggle in Maya and Zbrush. He also used Microsoft’s 3D print clean up tool, 3D Builder. The daggers have the Belmont crest engraved in them (a little non-canon extra touch we put on). A master was printed on our FormLab’s Form 1+ Printer in Clear Resin. Toggle cured and cleaned up the master, then made a mold using Smooth On Mold Star 20T and cast 4 knives in Smooth-Cast 300. He carved out a circle and placed Earth magnets into the daggers so they would stay up in their sheaths. We attached opposing magnets on the back of the red straps behind the sheaths. After lots of sanding, he painted them with Design Master ColorTool Silver and weathered them with acrylics. Using the pleather, I made quick little sheaths and hand stitched them to the red straps.


The Sword was printed on an Ultimake 2+ by Hemogoblin_ in 7 pieces. It was put together using superglue and then had many layers of bondo spot putty and sanding before Toggle moved onto coloring it. It has a spray paint base and acrylics to weather it. It also has a hand wrapped leather handle. This is also the first time we’ve attempted to print a scabbard instead of building one out of craft foam or fabric. I’m in love! It fits like a dream. It was put together using the same technique as the sword.
Toggle purchase 250 yards of para-cord in brown. Following an online tutorial , Toggle put together a whip that would be travel and con safe. It features 3D prints for the gold rings. These were printed on our Monoprice V2.
